Loading store
Loading store
WishlistStore FinderGift Cards

How to lay Viblock Concrete Pavers

Viblock pavers are dry cast, so it pays to follow the right laying method from the start. Use the steps below to build a stable base, get a clean finish and help your paving last for years.

What you’ll need

Before you begin, make sure you’ve got everything ready.

Materials:

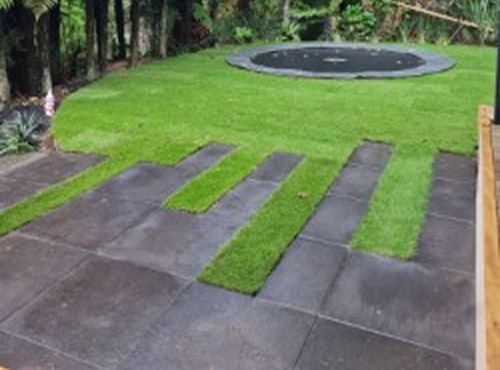
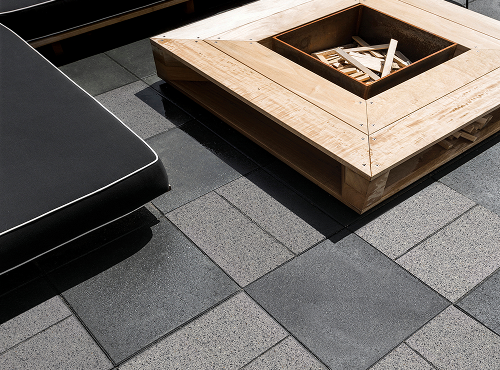
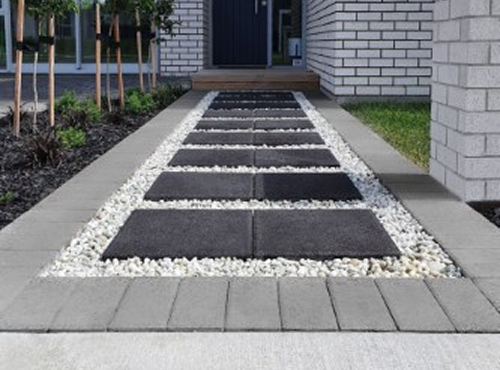
  • Viblock pavers. Blend from multiple packs for even colour

  • Basecourse aggregate. AP20 or GAP20. Use AP40 if you need a thicker sub base

  • Bedding layer - Dry cast pavers. Clean washed sand about 30 mm thick after compaction

  • Jointing - Dry cast pavers. Dry jointing sand. Polymeric stabilised sand is OK. Follow its cleanup instructions

  • Edge restraints. Kerb blocks. Timber. Paver on edge. Concrete haunching

  • Clean water

  • Sealer

Tools:

  • Tape measure and pencil

  • Pegs and string lines

  • Spirit level and 3 m straight edge

  • Plate compactor. Use a rubber or foam mat when compacting over pavers

  • Shovel, spade, rake and wheelbarrow

  • Screeding rails. About 25 to 30 mm diameter and 2 to 3 m long

  • Screed board. About 100 mm by 25 mm and 1.8 m long

  • Rubber mallet

  • Steel trowel and pointing tool

  • Block splitter or a diamond wet saw

  • Stiff broom and soft broom

  • Safety gear: Gloves, Safety glasses, Hearing protection, Dust mask

Before you start

Plan drainage and finished height

  • Set a fall away from buildings
  • Dry cast - Aim for about 25 mm fall per metre
  • Keep the finished paving at least 100 mm below the internal floor level of your house

Work out layer thicknesses

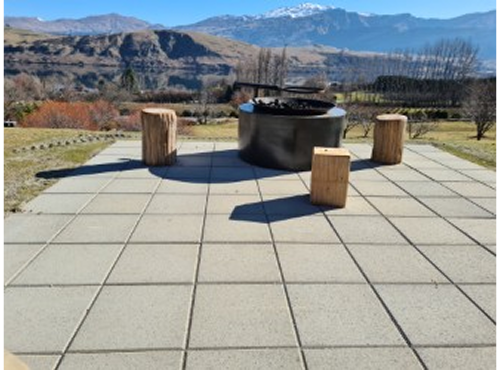
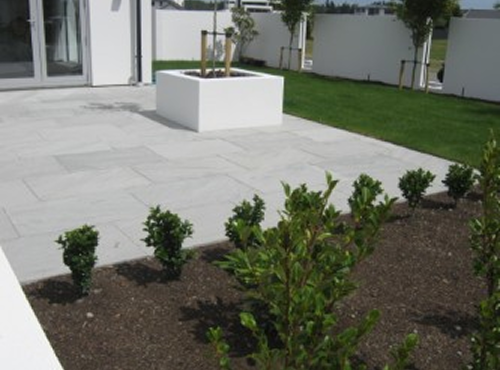
    Typical patio or path

  • Basecourse. 100 mm compacted
  • Bedding layer. 30 mm mortar or sand
  • Paver thickness. As supplied
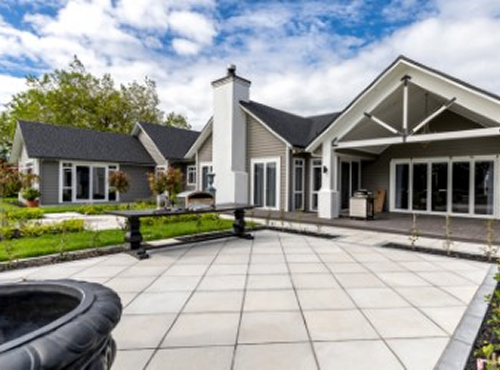
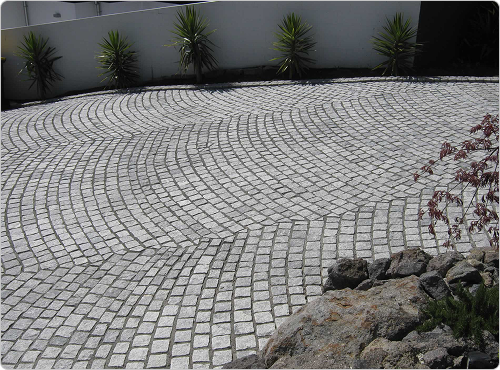
  • Typical residential driveway

  • Basecourse. 150 mm compacted or more if the ground is weak
  • Bedding layer. 30 mm
  • Paver thickness. As supplied
Pro tip icon
Pro tip: Blend pavers from several pallets as you go. This helps balance natural colour variation for a consistent finish.

Step-by-step laying instructions

Bedding sand with dry sanded joints

  1. Set out
    • Mark the area with string lines at finished height
    • Allow for basecourse. About 30 mm bedding sand. Paver thickness
  2. Excavate and prepare subgrade
    • Remove organics and loose material
    • Excavate to suit all layers
    • Undercut and replace any soft spots with compacted basecourse
    • Shape the subgrade to your planned fall
  3. Basecourse
    • Patios and paths. About 100 mm compacted AP20
    • Residential driveways. About 150 mm compacted or more if needed
    • Compact in thin lifts. Lightly water while compacting
    • Bring to exact level and fall. Do not try to level with bedding sand
    • Optionally blind with fine crusher dust and compact again for a tight top
  4. Bedding sand
    • Place screeding rails about 1 m apart
    • Spread clean washed sand between rails
    • Screed with your board to about 30 mm thickness after compaction
    • Remove rails. Fill and trowel the voids
    • Do not walk on screeded sand

  5. Pro tip icon
    Pro tip: On a large job, screed only the area you can lay pavers on the same day. This prevents uneven compaction or moisture changes in the sand.
  6. Lay the pavers
    • Start in a corner or along a straight header
    • If pavers have spacer lugs, lightly butt them together
    • If there are no lugs, keep a 2 to 4 mm gap to stop edge chipping
    • On slopes, start at the bottom and work upslope
    • Work from the paved area to protect the screeded sand
    • Check line and level every few rows
  7. Pro tip icon
    Pro tip: On sloped areas, always start laying at the lowest point and work uphill so rows don’t creep out of alignment.
  8. Edge restraints
    • Fit borders such as kerb blocks, paver on edge, timber peg and rail, or concrete haunching
    • Borders and restraints should extend at least 50 mm below the bedding sand
    • Install restraints before laying except for concrete haunching
    • For haunching, remove sand beside the edge course and dig about 50 mm into the basecourse for the haunch. Let it cure before compacting
  9. Jointing and compaction
    • Make sure the surface and joints are dry
    • Sweep dry jointing sand into all joints until they are full
    • If using polymeric stabilised sand, follow the packet for watering and cleanup
    • Compact using a plate compactor with a rubber or foam mat
    • Do not compact large thin flagstones with a plate compactor. Use a rubber mallet instead
    • After the first pass, top up joints. Compact again. Repeat until joints stay full
    • Sweep clean
  10. Final check
    • Check fall. line. level. and that all joints are full
    • Inspect edges and restraints
  11. Plain paving
    Textured paving
    Exposed Aggregate paving

    Finishing and sealing

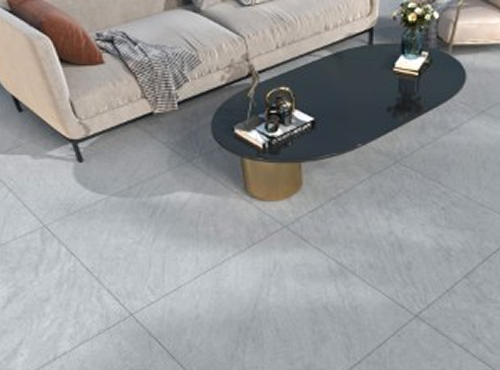
    Decide if sealing is right for your area

    • Sealing is optional. It helps with cleaning and stain resistance and can enhance colour
    • It is useful under trees. near BBQs. and in shady areas that grow moss or mould

    Clean before sealing

    • Treat stains now
    • If needed you can acid wash using about 20 parts water to 1 part Spirit of Salts
    • Rinse very well and allow to dry completely

    Choose the sealer

    1. Penetrating dry look sealer is suitable for dry cast

    Apply the sealer

    1. Follow the sealer label. Test a small hidden area first
    2. Apply in the recommended conditions. Clean and dry surface. No rain expected
    Pro tip icon
    Pro tip: Sealing helps prevent oil and grease marks and makes future cleaning easier. Reapply every few years depending on traffic and weather.

Maintenance and care

  • Sweep often to keep dirt and leaves off the surface
  • Wash with water and a mild cleaner
  • Replace damaged pavers promptly to prevent shifting.
  • For moss and mould you can use a chlorine bleach based cleaner. Brush. Then rinse well
  • Use a water blaster with care. Keep a sensible distance. Do not blast directly into joints
  • Top up dry sand joints if they settle after rain or heavy use
  • Let any concrete edge haunching cure for 2 to 3 days before vehicle traffic
  • Watch for white bloom called efflorescence. It is normal. Good drainage and dry storage help minimise it
  • Replace any cracked or loose pavers promptly


Pro tip icon
Pro tip: If you see white powdery patches (efflorescence), don’t worry, it’s normal and will usually fade. Good drainage and dry storage before installation help reduce it.

Note: Product instructions shown here are provided for guidance only and may not reflect current advice. Please refer to the manufacturer’s documentation for most up to date instructions.

Download the supplier’s full guide

For complete technical details, you can view or download the official installation PDF.

Download full PDF guide

Feinwerk concrete pavers

Feinwerk

Concrete Pavers

Firth Concrete Pavers

Firth

Concrete Pavers

Viblock Concrete Pavers

Viblock

Concrete Pavers

Premier Italia Concrete Pavers

Premier

Italia Concrete Pavers

Premier Lifestyle Concrete Pavers

Premier

Lifestyle Concrete Pavers

Urban Paving Concrete Pavers

Urban Paving

Concrete Pavers

Urban Paving Natural Pavers

Urban Paving

Natural Pavers

Urban Paving Porcelain Pavers

Urban Paving

Porcelain Pavers

Urban Paving Natural Cobblestones

Urban Paving

Natural Cobblestones