Loading store
Loading store
WishlistStore FinderGift Cards

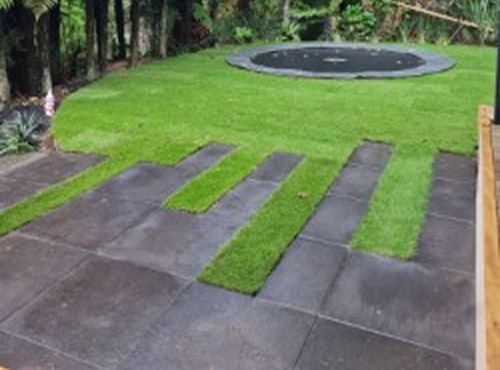
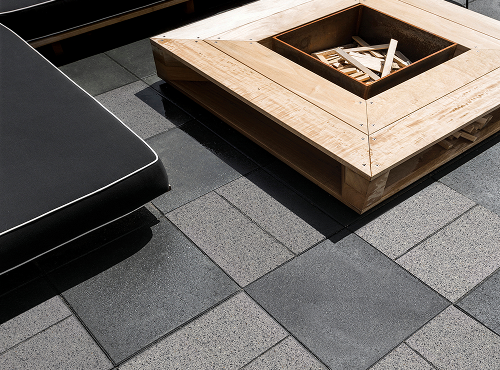
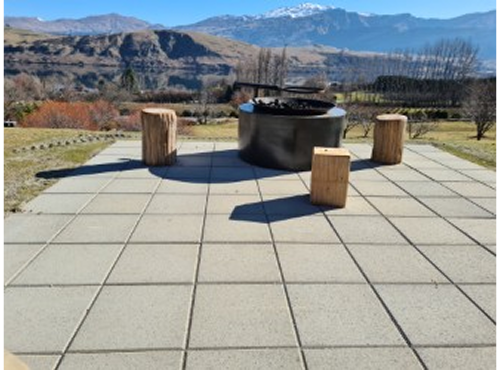
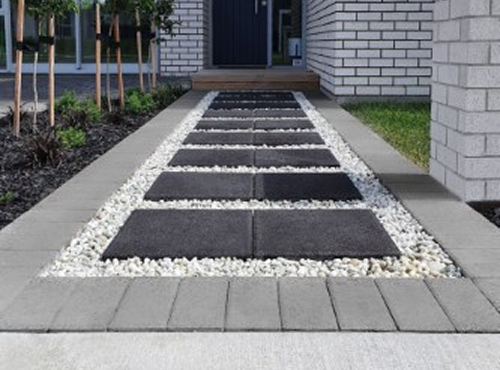
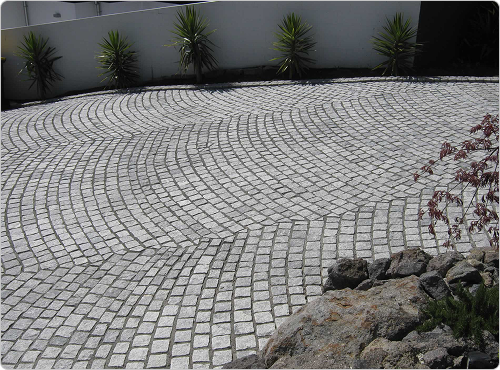
How to lay Premier Italia Concrete Pavers

Premier Italia Concrete Pavers are part of Premier’s Wetcast range, designed to create premium patios and outdoor entertaining areas. These pavers offer a smooth, elegant finish and are intended for pedestrian use only. When laid correctly, they create a stable, long-lasting surface that resists movement, ants, and weed growth.

What you’ll need

Before you begin, make sure you’ve got everything ready.

Materials:

  • Premier Italia Concrete Pavers

  • Premier Base Course

  • Premier Mortar Mix or Premier Washed Sand (with cement, water, and plasticiser)

  • Premier P30 Grout

  • Edge restraints (optional)

  • Clean water

  • Sealer (optional)

Tools:

  • Tape measure and pencil

  • Pegs and string lines

  • Spirit level

  • Spade and shovel

  • Wheelbarrow and rake

  • Plate compactor

  • Rubber mallet

  • Trowel and pointing tool

  • Mixing bucket or wheelbarrow

  • Stiff broom and soft broom

  • Sponge

  • PPE (gloves, safety glasses, hearing protection, dust mask

Before you start

Check the intended use

The Italia range is designed for patios and other pedestrian areas. It is not suitable for driveways or vehicle traffic.

Prepare your site

Mark out the area using string lines and pegs. Plan your layout to minimise cutting and make sure you have good drainage away from your home or structures.

Step-by-step laying instructions

  1. Excavation
    Remove all topsoil and vegetation to a depth of about 120 mm. This gives you enough space for the basecourse, mortar bed, and pavers. Spread Premier Base Course evenly across the area and rake it level.
  2. Compact the basecourse
    Compact the basecourse to a 60 mm thickness using a plate compactor or, for smaller areas, by firmly stamping with your feet. This compacted base provides strength and prevents sinking.
  3. Check levels
    Use a tape measure to confirm your basecourse is about 60 mm below the finished height of the paved surface. This allows room for mortar and pavers.
  4. Confirm slope and alignment
    Use a spirit level to ensure the base has the correct slope for drainage. The area should fall away from structures by at least 10 mm per metre.
  5. Prepare the mortar mix
    Mix Premier Mortar Mix with clean water to form a toothpaste-like consistency. Alternatively, mix Premier Washed Sand with cement, water, and plasticiser if you’re creating your own mortar. Work in small batches so the mortar does not dry out before laying.
  6. Lay the mortar spots
    Trowel five spots of mortar onto the compacted base for each paver, one in each corner and one in the centre. Also trowel a small line of mortar where the next joint will sit. These mortar spots will spread out as you place each paver, creating a firm, even bedding layer about 20 mm thick.
  7. Wet the paver backs and set in place
    Before laying each paver, dampen the back with a sponge. This helps improve bonding and prevents the mortar from drying too quickly. Lay the paver gently onto the mortar spots and press it down. The mortar should spread evenly underneath.
  8. Adjust height and alignment
    Tap the top of each paver gently with a rubber mallet until it reaches the correct level. Maintain a 10 mm joint gap between pavers. Do not butt them hard together.
  9. Check levels as you go
    Regularly check alignment with a spirit level across multiple pavers. Adjust by tapping down any that sit too high or adding a small amount of mortar under any that sit low.
  10. Let the mortar set
    Once all pavers are in place, do not walk on them for 24 hours to allow the mortar to cure properly. The finished structure should consist of approximately:
    • 40 mm paver
    • 20 mm mortar
    • 60 mm compacted basecourse
  11. Grouting the joints
    Once the mortar has cured, fill the joints using Premier P30 Grout.
    1. Lightly wet the surface of the pavers.
    2. Pour the grout onto the surface and work it into the joints with a broom or squeegee.
    3. Only grout small sections at a time, around 4 to 5 m², to prevent premature drying.
    4. Ensure the grout remains a wet slurry as you work.
  12. Cleaning the surface
    Sweep off any remaining grout at a 45-degree angle to the joints to avoid pulling material out. Allow the grout to set before walking on the area.

Sealing your pavers

Sealing enhances the look of your Premier Italia Pavers and helps prevent staining, weathering, and fading.

When to seal:
Wait at least 24 to 48 hours after installation so the pavers are fully dry.

Surface preparation:

  1. Ensure the surface is completely dry and clean.
  2. Remove any efflorescence before sealing.
  3. Avoid sealing in humid or hot conditions.

Application:

  1. Choose a penetrating sealer for a natural finish or a solvent-based sealer for deeper colour.
  2. Apply two light coats using a roller or sprayer.
  3. Allow each coat to dry completely before applying the next.
  4. Avoid walking on the surface for 24 hours.

Maintenance:

  • Reseal every 3–5 years or when water no longer beads on the surface.
  • Wash periodically with mild detergent and water.
  • Avoid high-pressure washing in the first month after sealing.
Pro tip icon
Pro tip: Always test a small patch before applying the sealer to the full surface to ensure the finish meets your expectations.

Maintenance and care

  • Sweep and clean regularly to prevent dirt build-up.
  • Avoid harsh cleaners or acids.
  • Refill grout if joints wear or crack over time.
  • Inspect and reseal when needed.
Pro tip icon
Pro tip: Sealing makes cleaning easier and prevents permanent marks from dirt, BBQ grease, or organic matter.

Note: Product instructions shown here are provided for guidance only and may not reflect current advice. Please refer to the manufacturer’s documentation for most up to date instructions.

Download the supplier’s full guide

For complete technical details, you can view or download the official installation PDF.

Download full PDF guide

Feinwerk concrete pavers

Feinwerk

Concrete Pavers

Firth Concrete Pavers

Firth

Concrete Pavers

Viblock Concrete Pavers

Viblock

Concrete Pavers

Premier Italia Concrete Pavers

Premier

Italia Concrete Pavers

Premier Lifestyle Concrete Pavers

Premier

Lifestyle Concrete Pavers

Urban Paving Concrete Pavers

Urban Paving

Concrete Pavers

Urban Paving Natural Pavers

Urban Paving

Natural Pavers

Urban Paving Porcelain Pavers

Urban Paving

Porcelain Pavers

Urban Paving Natural Cobblestones

Urban Paving

Natural Cobblestones