Loading store
Loading store
WishlistStore FinderGift Cards

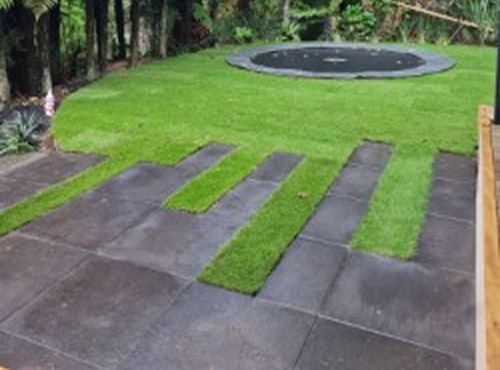
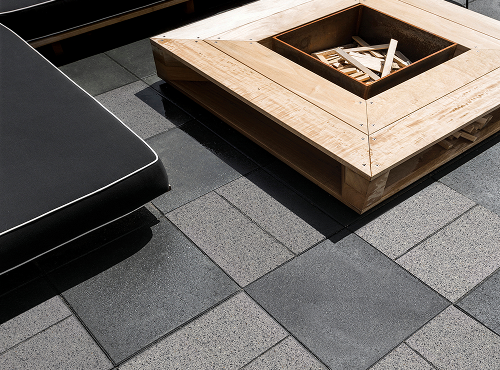
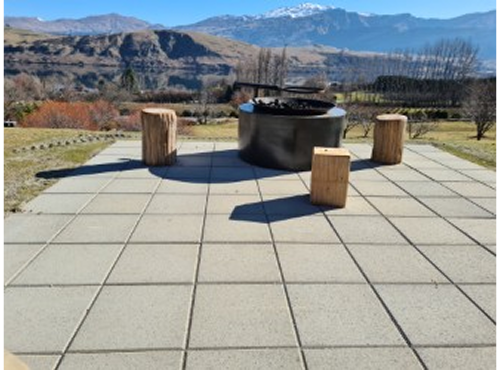
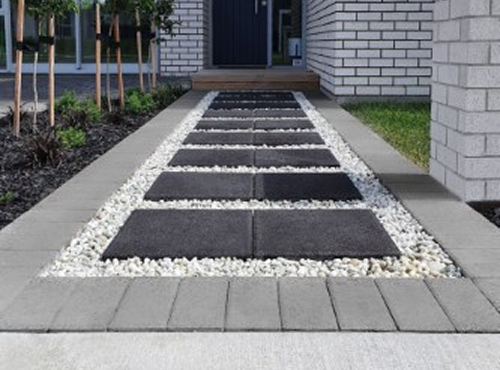
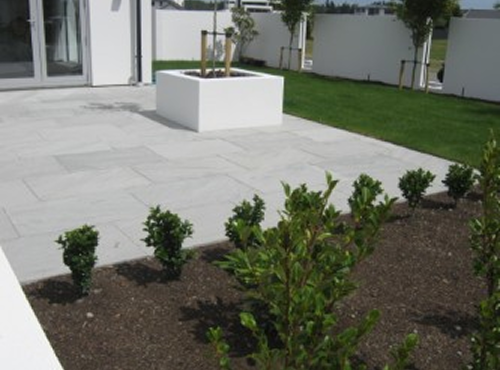
How to lay Urban Paving Porcelain Pavers

Urban Paving Porcelain Pavers are made from high-quality porcelain designed for strength, durability, and weather resistance. These 20 mm pavers are ideal for patios, paths, and other light-traffic outdoor areas. When installed correctly, they offer a long-lasting, low-maintenance surface with a refined, contemporary look. This guide explains everything you need to know about laying porcelain pavers on a solid base, including preparation, laying, jointing, sealing, and ongoing maintenance.

What you’ll need

Before you begin, make sure you’ve got everything ready.

Materials:

  • Urban Paving Porcelain Pavers (mix from multiple pallets for colour consistency)

  • Sub-base material (GAP40 or GAP65 if soil is weak)

  • Basecourse material (GAP20)

  • Bedding material (sand or 5:1 sand and cement mortar)

  • Jointing material (grout or polymeric jointing sand)

  • Edge restraints (plastic, metal, or concrete kerb)

  • Geotextile fabric (optional, for poor drainage)

  • Clean water

  • Sealer (optional)

Tools:

  • Tape measure and pencil

  • Pegs and string lines

  • Spirit level

  • Spade and shovel

  • Wheelbarrow and rake

  • Plate compactor

  • Rubber mallet

  • Trowel and rake

  • Wet saw or masonry saw

  • Stiff broom and soft broom

  • PPE (gloves, safety glasses, hearing protection, dust mask

Before you start

Consult a professional

Porcelain pavers are precision-engineered products that require careful installation. For large or complex projects, seek advice from an engineer, architect, or landscape professional to meet NZS 3116:2002 paving standards and local council requirements.

Plan the slope and drainage

Plan a fall of at least 10 mm per metre away from structures or retaining areas to prevent water pooling. If your site has poor drainage, add subsoil drains or a thicker sub-base.

Check your subgrade strength

The subgrade is the natural soil layer beneath the paving. It should be well compacted, level, and stable. You can test firmness by walking on damp soil:

  • Weak soil leaves a deep footprint.
  • Medium soil compresses slightly under your heel.
  • Strong soil leaves almost no mark.

Step-by-step laying instructions

  1. Site clearing and excavation
    Remove all vegetation, topsoil, and loose debris. Excavate enough to allow for all layers: sub-base (if required), basecourse, bedding layer, and paver thickness.
    • Patios and paths: approximately 150 mm total depth.
    • Light driveways: 200 mm total depth.
    Compact the subgrade and shape it to your planned slope.
  2. Sub-base (if required)
    If you have weak soil, spread a layer of GAP40 or GAP65 sub-base aggregate. Compact it well with a plate compactor. This layer helps prevent settlement and provides extra stability.
  3. Basecourse
    Spread GAP20 evenly in layers no thicker than 75 mm. Compact each layer before adding the next. The total thickness will depend on the soil condition:
    • Weak soil (CBR 4): 100 mm
    • Medium soil (CBR 7): 75 mm
    • Strong soil (CBR 15): 50 mm
    Finish the basecourse level and compacted with the correct fall for drainage.
  4. Bedding layer
    Porcelain pavers perform best when laid on a reinforced concrete slab. This provides full support, reduces movement, and helps prevent cracking or lipping over time. Urban Paving recommends installation on a concrete pad as the preferred method.
    Concrete slab
    • Pour a reinforced concrete slab with appropriate fall for drainage.
    • Allow the slab to fully cure before laying pavers.
    • Use a suitable exterior tile adhesive designed for porcelain.
    • Apply adhesive with a notched trowel to achieve full coverage.
    • Back butter each paver to ensure complete contact.
    • Maintain consistent joint widths as specified by the supplier.
    Mortar bedding:
    Where a concrete slab is not practical, porcelain pavers may be laid on a properly prepared mortar bed. This method must provide full support beneath each paver to prevent point loading and cracking.
    • Mix 5 parts sand to 1 part cement.
    • Spread a 30 mm thick layer of mortar over the base.
    • Work in small sections so the mortar does not dry before you place the pavers.
    • Use a trowel to smooth the surface before placing each paver.
  5. Pro tip icon
    Pro tip: Always keep mortar consistent in thickness. Variations can cause uneven pavers and drainage issues later.
  6. Laying the pavers
    Plan your layout before you start, marking straight reference lines with string and stakes.
    • Begin laying from a corner or straight edge.
    • Set each paver gently into place, maintaining an 8–15 mm joint gap for grouting.
    • Tap pavers lightly with a rubber mallet to bed them evenly.
    • Check alignment and levels frequently using a spirit level or straight edge.
    If working with multiple pallets, mix pavers throughout the job to avoid slight shade variations.
  7. Pro tip icon
    Pro tip: Keep pavers clean while working. Porcelain can show grout stains easily if not wiped off immediately.
  8. Cutting pavers
    Use a wet saw with a diamond blade to cut pavers neatly along edges or around obstacles. Always wear safety equipment.
  9. Jointing
    Once the pavers are laid, fill all joints with Grout:
    1. Mix the grout following manufacturer instructions.
    2. Use a rubber float or squeegee to work grout into the joints at a 45-degree angle.
    3. Remove excess grout immediately with a damp sponge.
    4. Allow to cure as recommended before foot traffic resumes.
    Polymeric jointing sand can also be used for a stronger, weed-resistant finish.
  10. Finishing touches
    Install edge restraints to prevent movement and keep the paved area stable. Use kerbs, pavers on edge, or concrete haunching.
 Clean the surface to remove all residue, then inspect joints and levels before sealing or using the area.

Maintenance and care

Porcelain pavers are naturally low maintenance, but a little care goes a long way in keeping them looking great.

Regular cleaning
  • Sweep regularly to remove dust, dirt, and leaves.
  • Wash with water and mild detergent as needed.
  • Use a water blaster on a moderate setting for deeper cleaning. Keep the nozzle at least 300 mm from the surface.
  • Avoid harsh acids or bleach that could damage the porcelain surface.

Frost and drainage
Porcelain is frost-resistant, but water must be able to drain freely under and around the paving. Avoid “wet feet” by ensuring proper fall and drainage.

Stain prevention
White powder may appear as salts rise to the surface. This will fade naturally with rain or gentle washing.

Stain prevention
Porcelain is non-porous, so most stains will not soak in. Clean spills promptly to prevent marks.

Long-term care
Check joints and edges periodically. Refill any lost sand and repair or reseal areas as needed.
 Remove any residue from grout or mortar early to avoid difficulty cleaning later.

Pro tip icon
Pro tip: Efflorescence (a white chalky deposit) can occur naturally as concrete cures. It usually fades with weathering and washing but can be treated with an efflorescence remover if needed.

Note: Product instructions shown here are provided for guidance only and may not reflect current advice. Please refer to the manufacturer’s documentation for most up to date instructions.

Download the supplier’s full guide

For complete technical details, you can view or download the official installation PDF.

Download full PDF guide

Feinwerk concrete pavers

Feinwerk

Concrete Pavers

Firth Concrete Pavers

Firth

Concrete Pavers

Viblock Concrete Pavers

Viblock

Concrete Pavers

Premier Italia Concrete Pavers

Premier

Italia Concrete Pavers

Premier Lifestyle Concrete Pavers

Premier

Lifestyle Concrete Pavers

Urban Paving Concrete Pavers

Urban Paving

Concrete Pavers

Urban Paving Natural Pavers

Urban Paving

Natural Pavers

Urban Paving Porcelain Pavers

Urban Paving

Porcelain Pavers

Urban Paving Natural Cobblestones

Urban Paving

Natural Cobblestones