Loading store
Loading store
WishlistStore FinderGift Cards

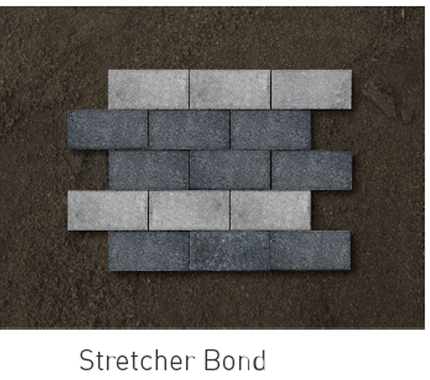
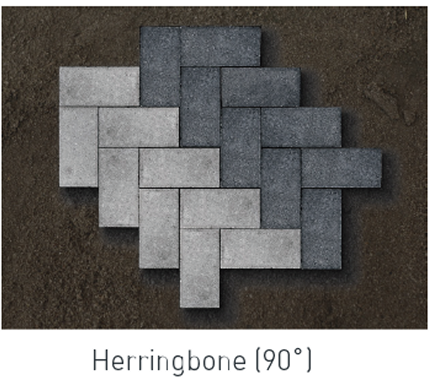
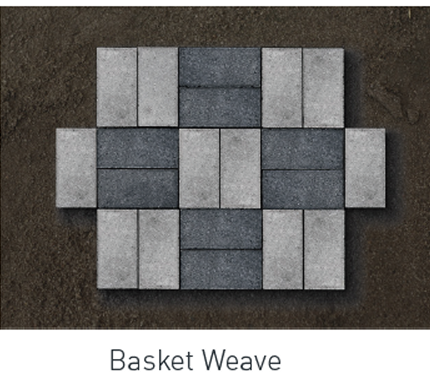
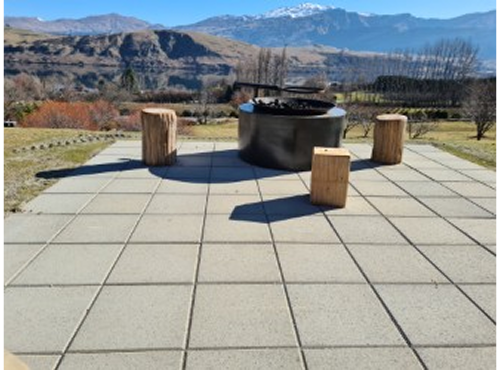
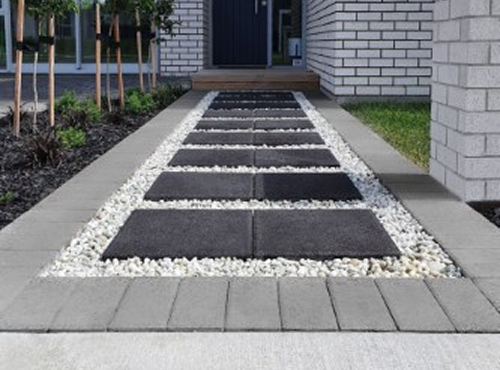
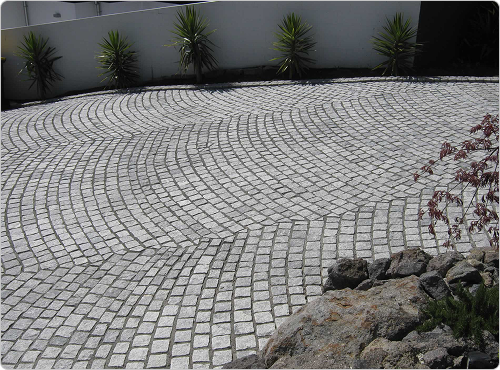
How to lay Firth Concrete Pavers

This detailed step-by-step guide will help you lay your Firth concrete pavers to NZS 3116:2002 standards. Whether you’re building a garden path, patio, or driveway, this guide explains how to prepare your base, lay and compact your pavers, and maintain them for long-lasting results.

What you’ll need

Before you begin, make sure you’ve got everything ready.

Materials:

  • Firth pavers (mix from multiple pallets to blend colour)

  • GAP20 or GAP40 basecourse aggregate

  • Bedding sand (20 mm thick layer of well-graded, granular sand)

  • Jointing sand (clean, dry sand or stabilised jointing sand such as Dricon Pavesand or Pavelock)

  • Concrete for edge haunching or kerbs

  • Weed mat (optional)

  • Water-based acrylic sealer (optional for protection and colour enhancement)

Tools:

  • Tape measure and pencil

  • Pegs and string lines

  • Spirit level

  • Spade and shovel

  • Rake

  • Float

  • Yard broom

  • Screed boards (100 x 25 mm x 2.8 m long)

  • Screeding rails (25 mm diameter pipe, 2–3 m long)

  • Plate compactor (hire)

  • Rubber mallet

  • PPE (gloves, safety glasses, hearing protection, dust mask

Before you start

Choosing the right paver for your project

  • Pathways and patios: Forum 50, Piazza 50, Manhattan 80, Chancery 50, Courtyard Flagstone 50, Holland 50, Walkway Paver 50.
  • Residential driveways: Holland 50 or 80 mm, Holland 80 Sett.
  • Multi-use driveways and parking: Holland 80, Holland 80 Sett, Piazza 80 mm.

Plan your layout and drainage

  • Set your string lines to represent the finished height. Allow for basecourse, bedding sand, and paver thickness.
  • Always include a slope of at least 25 mm per metre away from structures to ensure good drainage.
Pro tip icon
Pro tip: Use a builder’s level or laser to maintain consistent fall across large areas, poor drainage is one of the most common paving failures.

Step-by-step laying instructions

  1. Excavation and subgrade preparation
    Remove grass, topsoil, and organic matter. Excavate deep enough for basecourse, bedding sand, and pavers.
 For most jobs, this means digging to a depth of 150–250 mm depending on the load (patio vs driveway). Check the subgrade strength by walking or probing with a spade, soft or loose areas should be undercut and replaced with compacted fill.
  2. Basecourse preparation
    The basecourse forms the strength of your paved surface.
    • Use GAP20 or GAP40 aggregate and spread it in 50 mm layers.
    • Compact each layer thoroughly with a vibrating plate compactor.
    • Dampen lightly while compacting for best results.
    • Patios and paths: 50–75 mm compacted base.
    • Driveways: 100–150 mm compacted base.
    Ensure your basecourse is smooth, level, and shaped to the correct fall. If the surface is coarse, spread a thin layer of GAP7 and compact again for a tight finish.
  3. Pro tip icon
    Pro tip: Never use bedding sand to correct base level errors. It will compact unevenly and cause your pavers to sink.
  4. Bedding sand
    Spread a layer of well-graded bedding sand over the compacted base. Use screeding rails (25 mm pipes) about 1 m apart, then screed off with a straight board to create a 20 mm thick, even surface. Remove the rails and fill the gaps. The sand should be uniform in thickness and moisture, neither too wet nor too dry.
  5. Choose your laying pattern
    Common patterns include:
    • Stretcher bond: Traditional brick-like pattern.
    • Herringbone (90°): Excellent interlock strength, ideal for driveways.
    • Basket weave: Decorative pattern for courtyards or garden paths.

    Some basic laying pattern options:
  6. Stretcher bond paving pattern
    Herringbone paving pattern
    Basket weave paving pattern
    Pro tip icon
    Pro tip: Using a herringbone pattern for driveways and high-traffic areas, it distributes weight evenly and prevents movement.
  7. Laying the pavers
    Start laying from a straight edge, corner, or the lowest point of a slope.
 Lay pavers close together so that the built-in spacer nibs create consistent joints. Work from the laid area to avoid walking on the bedding sand. Check alignment and levels frequently with a string line or straight edge.
  8. Cutting pavers
    Cut infill pavers at the end of your layout using a block splitter or diamond wet saw. Always wear protective glasses, gloves, and ear protection.
    • Use a wet saw to reduce dust and prevent chipping, then rinse the cut edge thoroughly to remove any cement slurry and prevent staining.
    • Dry saws with extraction are suitable where wet cutting isn’t practical.
  9. Edge restraints
    Edge restraints prevent pavers from spreading over time. Install kerbs, timber edging, or concrete haunching extending at least 50 mm below the bedding layer. When using concrete haunching, extend the basecourse by about 150–170 mm for support. Let the haunching cure for 2–3 days before compacting the pavers near it.
  10. Jointing sand and compaction
    Ensure the pavers are completely dry before jointing. Sweep dry jointing sand across the surface until all joints are filled. Compact using a plate compactor fitted with a rubber mat or carpet to prevent surface damage. Avoid compacting large thin slabs like Forum 400 x 400 mm, use a rubber mallet instead. Repeat the process: top up the joints, compact again, and sweep away excess sand.
  11. Pro tip icon
    Pro tip: After a few weeks of use, check the joints and top up with sand again as it settles. This locks the pavers and prevents movement.

    Sealing your Firth Concrete Pavers

    Sealing helps protect your Firth pavers from stains, moisture, and surface wear. It also enhances colour and makes cleaning easier, especially in areas that get a lot of use, shade, or exposure to BBQ grease and tree sap. Firth recommends using a water-based acrylic sealer once your paving has fully settled and dried out.

    Preparing the surface

    • Sweep the area thoroughly to remove all dust and sand.
    • Wash the pavers with mild detergent and water, or a paver cleaner designed for concrete.
    • Treat any stains before you seal. For efflorescence (white powder), use an efflorescence remover or a diluted acid solution (one part acid to twenty parts water). Test a small area first to make sure it does not mark the surface.
    • Rinse well with clean water and allow the area to dry completely before starting.

    Choosing your sealer

    A water-based acrylic penetrating sealer is suitable for most Firth concrete pavers. It provides a natural or satin finish, guards against moisture and stains, and resists UV fading.
 If you want a deeper, richer finish on dark colours or driveways, a solvent-based sealer may be used. Always check that it is compatible with your specific paver type.

    Applying the sealer

    1. Apply the sealer on a cool, dry day with no rain expected for 24 hours.
    2. Use a low-pressure sprayer, roller, or wide brush to apply it evenly.
    3. Work in small sections to avoid overlaps or streaks.
    4. Allow the first coat to dry completely, usually two to three hours, before adding a second light coat if required.
    5. Keep foot traffic and vehicles off the area for at least 24 hours after application.

    After sealing

    1. Do not wash or scrub the area for seven days after sealing.
    2. Inspect high-traffic areas every year and reapply as needed.
    3. Reseal every two to three years for best long-term protection.

Maintenance and care

  • Sweep and wash periodically to prevent organic growth.
  • For moss and algae, use hot water, steam, or a mild outdoor cleaner, be sure to avoid strong acids unless recommended.
  • Replace damaged pavers promptly to prevent shifting.
  • Check and refill joint sand as needed, especially after heavy rain or water blasting.
  • Seal pavers every few years depending on exposure.
  • For steep driveways, use stabilised jointing sand like Dricon Pavelock to reduce sand loss.


Pro tip icon
Pro tip: Efflorescence (white deposits) is natural and temporary. It can be reduced with good drainage and by keeping pavers dry before laying. Use an efflorescence remover if needed.

Note: Product instructions shown here are provided for guidance only and may not reflect current advice. Please refer to the manufacturer’s documentation for most up to date instructions.

Download the supplier’s full guide

For complete technical details, you can view or download the official installation PDF.

Download full PDF guide

Feinwerk concrete pavers

Feinwerk

Concrete Pavers

Firth Concrete Pavers

Firth

Concrete Pavers

Viblock Concrete Pavers

Viblock

Concrete Pavers

Premier Italia Concrete Pavers

Premier

Italia Concrete Pavers

Premier Lifestyle Concrete Pavers

Premier

Lifestyle Concrete Pavers

Urban Paving Concrete Pavers

Urban Paving

Concrete Pavers

Urban Paving Natural Pavers

Urban Paving

Natural Pavers

Urban Paving Porcelain Pavers

Urban Paving

Porcelain Pavers

Urban Paving Natural Cobblestones

Urban Paving

Natural Cobblestones