How to prep for a painting project

So you’ve chosen a colour you like and now you’re ready to get painting – well, almost! Getting the prep work right is just as important as the painting job itself.
Preparing the surface is the key to achieving a beautiful, long-lasting finish. You can do this in three easy steps.
Cleaning
Start preparing the walls a couple of days before painting.
- Protect or remove any furniture in the area to avoid getting paint splatters.
- Wash surfaces thoroughly with a mixture of Sugar Soap and water.
- Wipe down with clean, fresh water and allow to dry completely.
Filling and sanding
It’s best to create a smooth working surface so that your paint can be applied evenly. Get rid of any cracks, bumps and imperfections like nail holes or blemishes on timber.
- Fill any cracks and holes with a suitable filler or putty
- Lightly sand and wipe clean any sanding dust. A 240-300 grit sandpaper will give the best result.
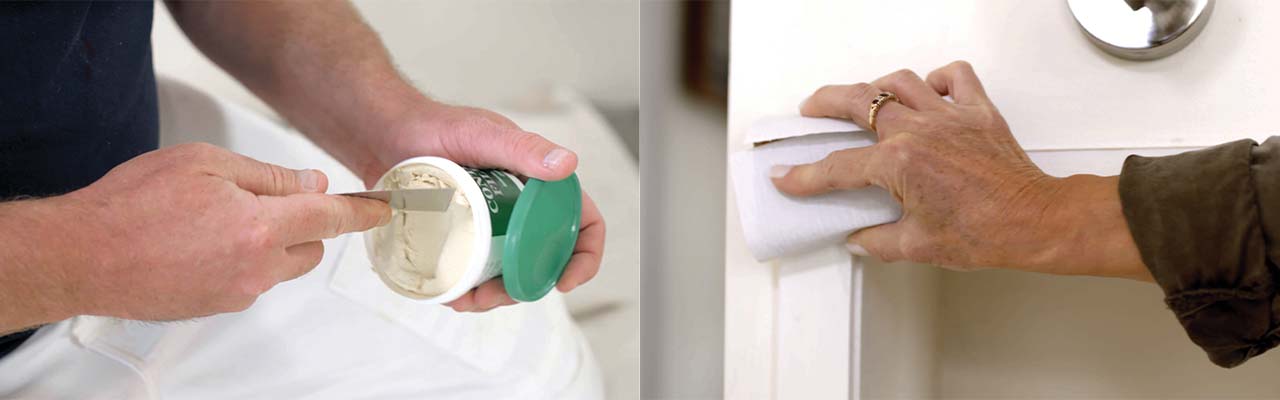
Masking
Apply a good quality, low-tack masking tape to the parts you don’t want to get paint on such as skirting boards, trims, floors and windows. It will also ensure a nice straight edge.
- Start the masking tape at the top of the wall, ensuring it is straight, then press down to seal so paint can’t seep under the tape.
- Always paint in a direction away from the masking tape to help keep you within the lines.
- Remove the tape as soon as you finish painting by pulling down carefully.
Pro Tip: Before applying paint to your surface, use a paint primer. Priming ensures better adhesion of paint to the surface, increases paint durability, and provides additional protection for the material being painted