shopping_cart0
Your cart is empty
There are no items in your shopping cart


Shop all the latest deals in one place

15% low price guarantee*

Keep your information safe
Pellet grills are a great way to get real wood fired flavour with less guesswork. Add BBQ wood pellets suitable for your grill, set your temperature and the grill automatically feeds pellets into the fire to help hold steady heat while you cook.
They're ideal for low and slow BBQ, roast dinners, weekend entertaining and everyday meals with a smoky flavour boost. This guide covers how pellet grills work, what pellets to use, what to check before you buy and how to get set up for your first cook.
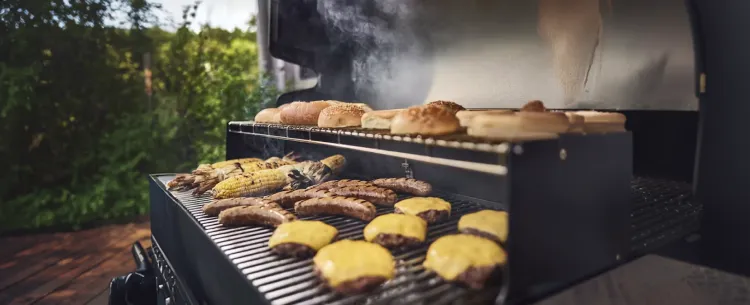
Pellet grills are a good fit if you want wood smoke flavour, simple temperature control and an easier way to try low and slow BBQ. They are also handy for entertaining because you can set the temperature and let the grill do most of the work.
You want wood smoke flavour, steady temperature control and an easier way to cook low and slow. Pellet grills are ideal for brisket, ribs, pork shoulder, roast chicken, lamb, fish, vegetables and relaxed entertaining.
You don't have access to outdoor power, or you prefer a more hands-on charcoal cooking experience with direct fire management. Pellet grills can handle a wide range of meals, from weeknight dinners to long low and slow cooks, but they rely on electricity to run the controller, fan and auger. Check the model's maximum temperature and searing features if high-heat cooking matters to you.
A safe outdoor cooking spot, access to a suitable 230V power point, BBQ wood pellets suitable for your grill, dry pellet storage and enough ventilation for smoke.
A gas BBQ uses gas burners for heat. It's quick, clean and easy to control. A charcoal BBQ uses burning charcoal for heat and smoke, giving you bold BBQ flavour with more hands-on fire control.
A pellet grill uses small compressed wood pellets as both the heat source and the smoke source. You set the temperature on a digital controller, then the grill feeds pellets automatically to help hold steady heat. You get real wood smoke flavour with temperature control that feels closer to using an oven.
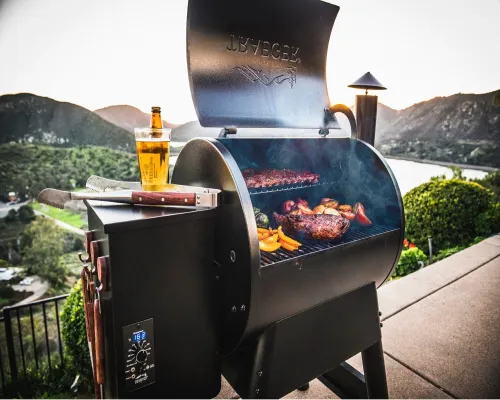
A pellet grill has five key parts working together: the hopper, auger, fire pot, fan and controller. Once you know what each part does, pellet grills are much easier to understand.
The container where you pour the pellets. Think of it as the fuel tank. Capacity varies by model, so check that it is large enough for the length of cooks you plan to do.
A spiral metal screw that automatically moves pellets from the hopper to the fire pot. The controller adjusts how pellets are fed to help maintain your selected temperature. Keep pellets dry because moisture can make them swell, crumble and cause feeding problems.
Where the pellets arrive and burn. An electric igniter starts the first pellets, then the controller, auger and fan work together to keep the fire going.
Blows air into the fire pot to support combustion and helps circulate heat and smoke. Depending on the model, it may continue running during shutdown to burn off remaining pellets or help cool the grill.
You set a temperature, then the controller reads the internal probe and adjusts the auger and fan to help hold it steady. Accuracy will vary by model, weather and cooking conditions.
Wood pellets for BBQ are designed for cooking and typically made from compressed hardwood. Only use pellets labelled for BBQs or smokers, and never use heating pellets in a pellet grill, never heating pellets made for log burners or pellet stoves.
An all purpose blend is the easiest place to start because it works across most meats and vegetables. Once you know what flavour you like, you can try stronger or sweeter woods to match what you are cooking.
Pellets need to stay dry to work properly. If they absorb moisture, they can swell, crumble and stop feeding through the auger smoothly.
In humid, coastal or damp areas, pellet storage is one of the most important things to get right. Keep pellets in an airtight bin with a tight lid, stored off concrete in a dry place. Avoid buying more than you can keep properly sealed and dry.
What to watch for: Pellets can absorb moisture quickly, especially in an open bag.
What to do: Use an airtight storage bin and keep it in a dry spot.
What to watch for: Salt air and wind driven moisture can make storage harder.
What to do: Keep pellets sealed, off the ground and away from exposed areas.
What to watch for: Concrete floors and damp corners can affect pellet quality.
What to do: Store pellets raised off the floor with the bag sealed inside a bin.
A new pellet grill usually needs to be primed and burned in before its first cook. The exact steps vary by model, so keep your manual handy as you work through the setup.
Add BBQ wood pellets that are suitable for your grill. An all-purpose blend is an easy place to start. Check that you have enough pellets for the cook you are planning.
A new grill may need pellets fed through the auger before its first use. Follow your model's priming instructions until pellets reach the fire pot.
Complete the burn-in process in your grill manual. This usually means running the grill empty at a set temperature and time before your first cook. Some smoke or smell during this process can be normal.
Turn the grill on and set your cooking temperature. Let it complete its startup and preheat process before adding food. Preheat time varies by model, temperature and weather.
When you have finished cooking, select the grill's shutdown setting and let the full cycle finish before switching off or unplugging it. Shutdown time and operation vary by model.
Pellet grills are easy to control because you set a temperature and the controller helps hold it steady. A meat thermometer is still the best way to check when food is cooked, especially for large cuts and low and slow BBQ.
These are general starting points. Follow your recipe and grill manual, and use a meat thermometer to check when food is ready.
Brisket, pork shoulder, lamb shoulder, ribs
Whole chicken, leg of lamb, pork loin, veg
Sausages, chops, pizza, tray bakes, bread
Steaks, kebabs, fish, chicken thighs
Steak crust. Use cast iron for best results.
Yes, a pellet grill can sear. Many pellet grills reach around 230 to 260°C, but check the model's temperature range if searing matters to you. For a proper steakhouse crust, use the reverse sear: smoke the steak low until 10 to 15°C below target, rest briefly while the grill cranks to maximum, then sear hard for 1 to 2 minutes per side. This produces a more evenly cooked steak than searing first, and the smoke flavour from the low cook builds real smoke depth before the hot finish.
Set the grill to around 110 to 120°C and cook until the steak is close to your target internal temperature.
Remove the steak while the grill heats to its highest setting.
Sear for 1 to 2 minutes per side on a very hot surface. Cast iron can help create a better crust.
Pellet grills are best known for low and slow BBQ, but they can do much more than brisket and ribs. Think of them as a smoker, roaster and outdoor oven in one.
Pork shoulder, beef brisket, lamb shoulder, ribs, smoked salmon. Set a low temperature and let it run. This is the pellet grill's greatest strength.
Whole chicken, leg of lamb, roast veg, pizza, bread and tray bakes. The grill acts like an outdoor oven with wood smoke.
Chicken thighs, sausages, lamb chops, fish, corn, halloumi, kebabs and burgers at higher temperatures.
Yes. A pellet grill needs a standard 230V power point to run the auger, igniter, fan and controller.
Set it up near a suitable outdoor power source and keep electrical parts protected from rain. An outdoor rated extension lead may work for some setups, but if you plan to use a pellet grill often, a dedicated outdoor power point installed by an electrician is the better long term option.
If you live in an apartment, townhouse or body corporate property, check the rules before buying. Some places restrict BBQs or smokers because of smoke, power access or balcony safety requirements.
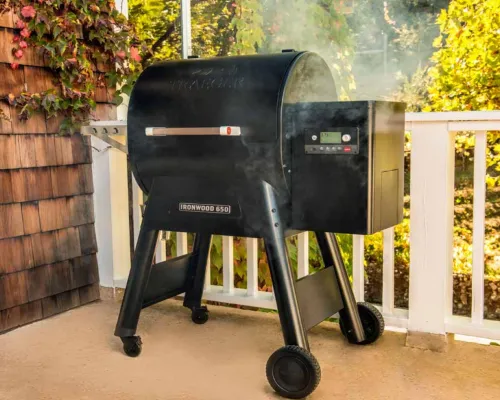
Best for: Couples, small families and smaller outdoor spaces.
Good to know: Easier to store, but may need more pellet refills on long cooks.
Best for: Most households and weekend cooks.
Good to know: A good all-round choice with room for larger cuts like brisket or pork shoulder.
Best for: Larger families, regular hosting and bigger low and slow cooks.
Good to know: More cooking space, but uses more room and fuel.
Pellet grills need regular grease and ash management to keep them running properly. A clean fire pot, drip tray and grease bucket help support steady heat, cleaner smoke and reduce flare-up risk. Always follow your model's instructions, especially for the shutdown cycle, and let the grill cool fully before cleaning. Clear ash from the fire pot and cooking chamber as recommended by the manufacturer, then check the drip tray and grease bucket. Keep pellets dry and avoid leaving damp pellets in the hopper, as moisture can cause them to swell, crumble and feed poorly.
Pellet grill care rhythm
Brush the grates and use the shutdown cycle before turning power off.
Check the drip tray, grease or grease-and-ash container and cooking chamber. Clean sooner after fatty or longer cooks.
Clear ash from the fire pot and cooking chamber once the grill is fully cool.
Empty or protect pellets if the grill will sit unused. Keep pellets sealed in an airtight bin.

Start with a mid size pellet grill if you want a versatile option for most Kiwi households. Choose a larger hopper if you want long low and slow cooks with fewer refills. Look for searing features if steaks and burgers are high on your list. Add dry pellet storage from day one so your fuel stays ready to cook.
