shopping_cart0
Your cart is empty
There are no items in your shopping cart
Shop all the latest deals in one place
15% low price guarantee*
Keep your information safe


It probably comes as no surprise that DIY is part of who we are. In the early 20th century when our geographic isolation made it hard for us to get the things we needed, we figured we’d learn to make, do, and fix things ourselves. This Do It Yourself attitude has been handed down through the generations, and today, we have a strong culture of DIY - of rolling up our sleeves and giving it a go.
Many of us were lucky enough to pick up the tools at a young age, to watch and learn as our parents or grandparents tackled jobs around the house. Others didn’t have that opportunity, but have learned as adults from friends or from online tutorials. Whatever your skill level and however you picked up your skills, DIY is a lifelong journey and there’s always something new to learn.
We were curious about which DIY skills were seen as the most essential, so we asked the best DIYers we know - our customers. We’ve compiled the top 10 below, but before we dive in there were a couple of other very important things our customers told us.
It’s well known that a dripping tap is more than capable of driving even the most chipper individual to a state of madness. In most cases, leaky taps are caused when the washer used to stop water flow starts to wear down and crack or split, allowing a small amount of water to come through and slowly drip into your sink (and soul). This is common for older basins with individual hot and cold taps. The good news is, these washers are easy to replace yourself, and cheap to buy.
Watch Stan replace a tap washer in the video below.
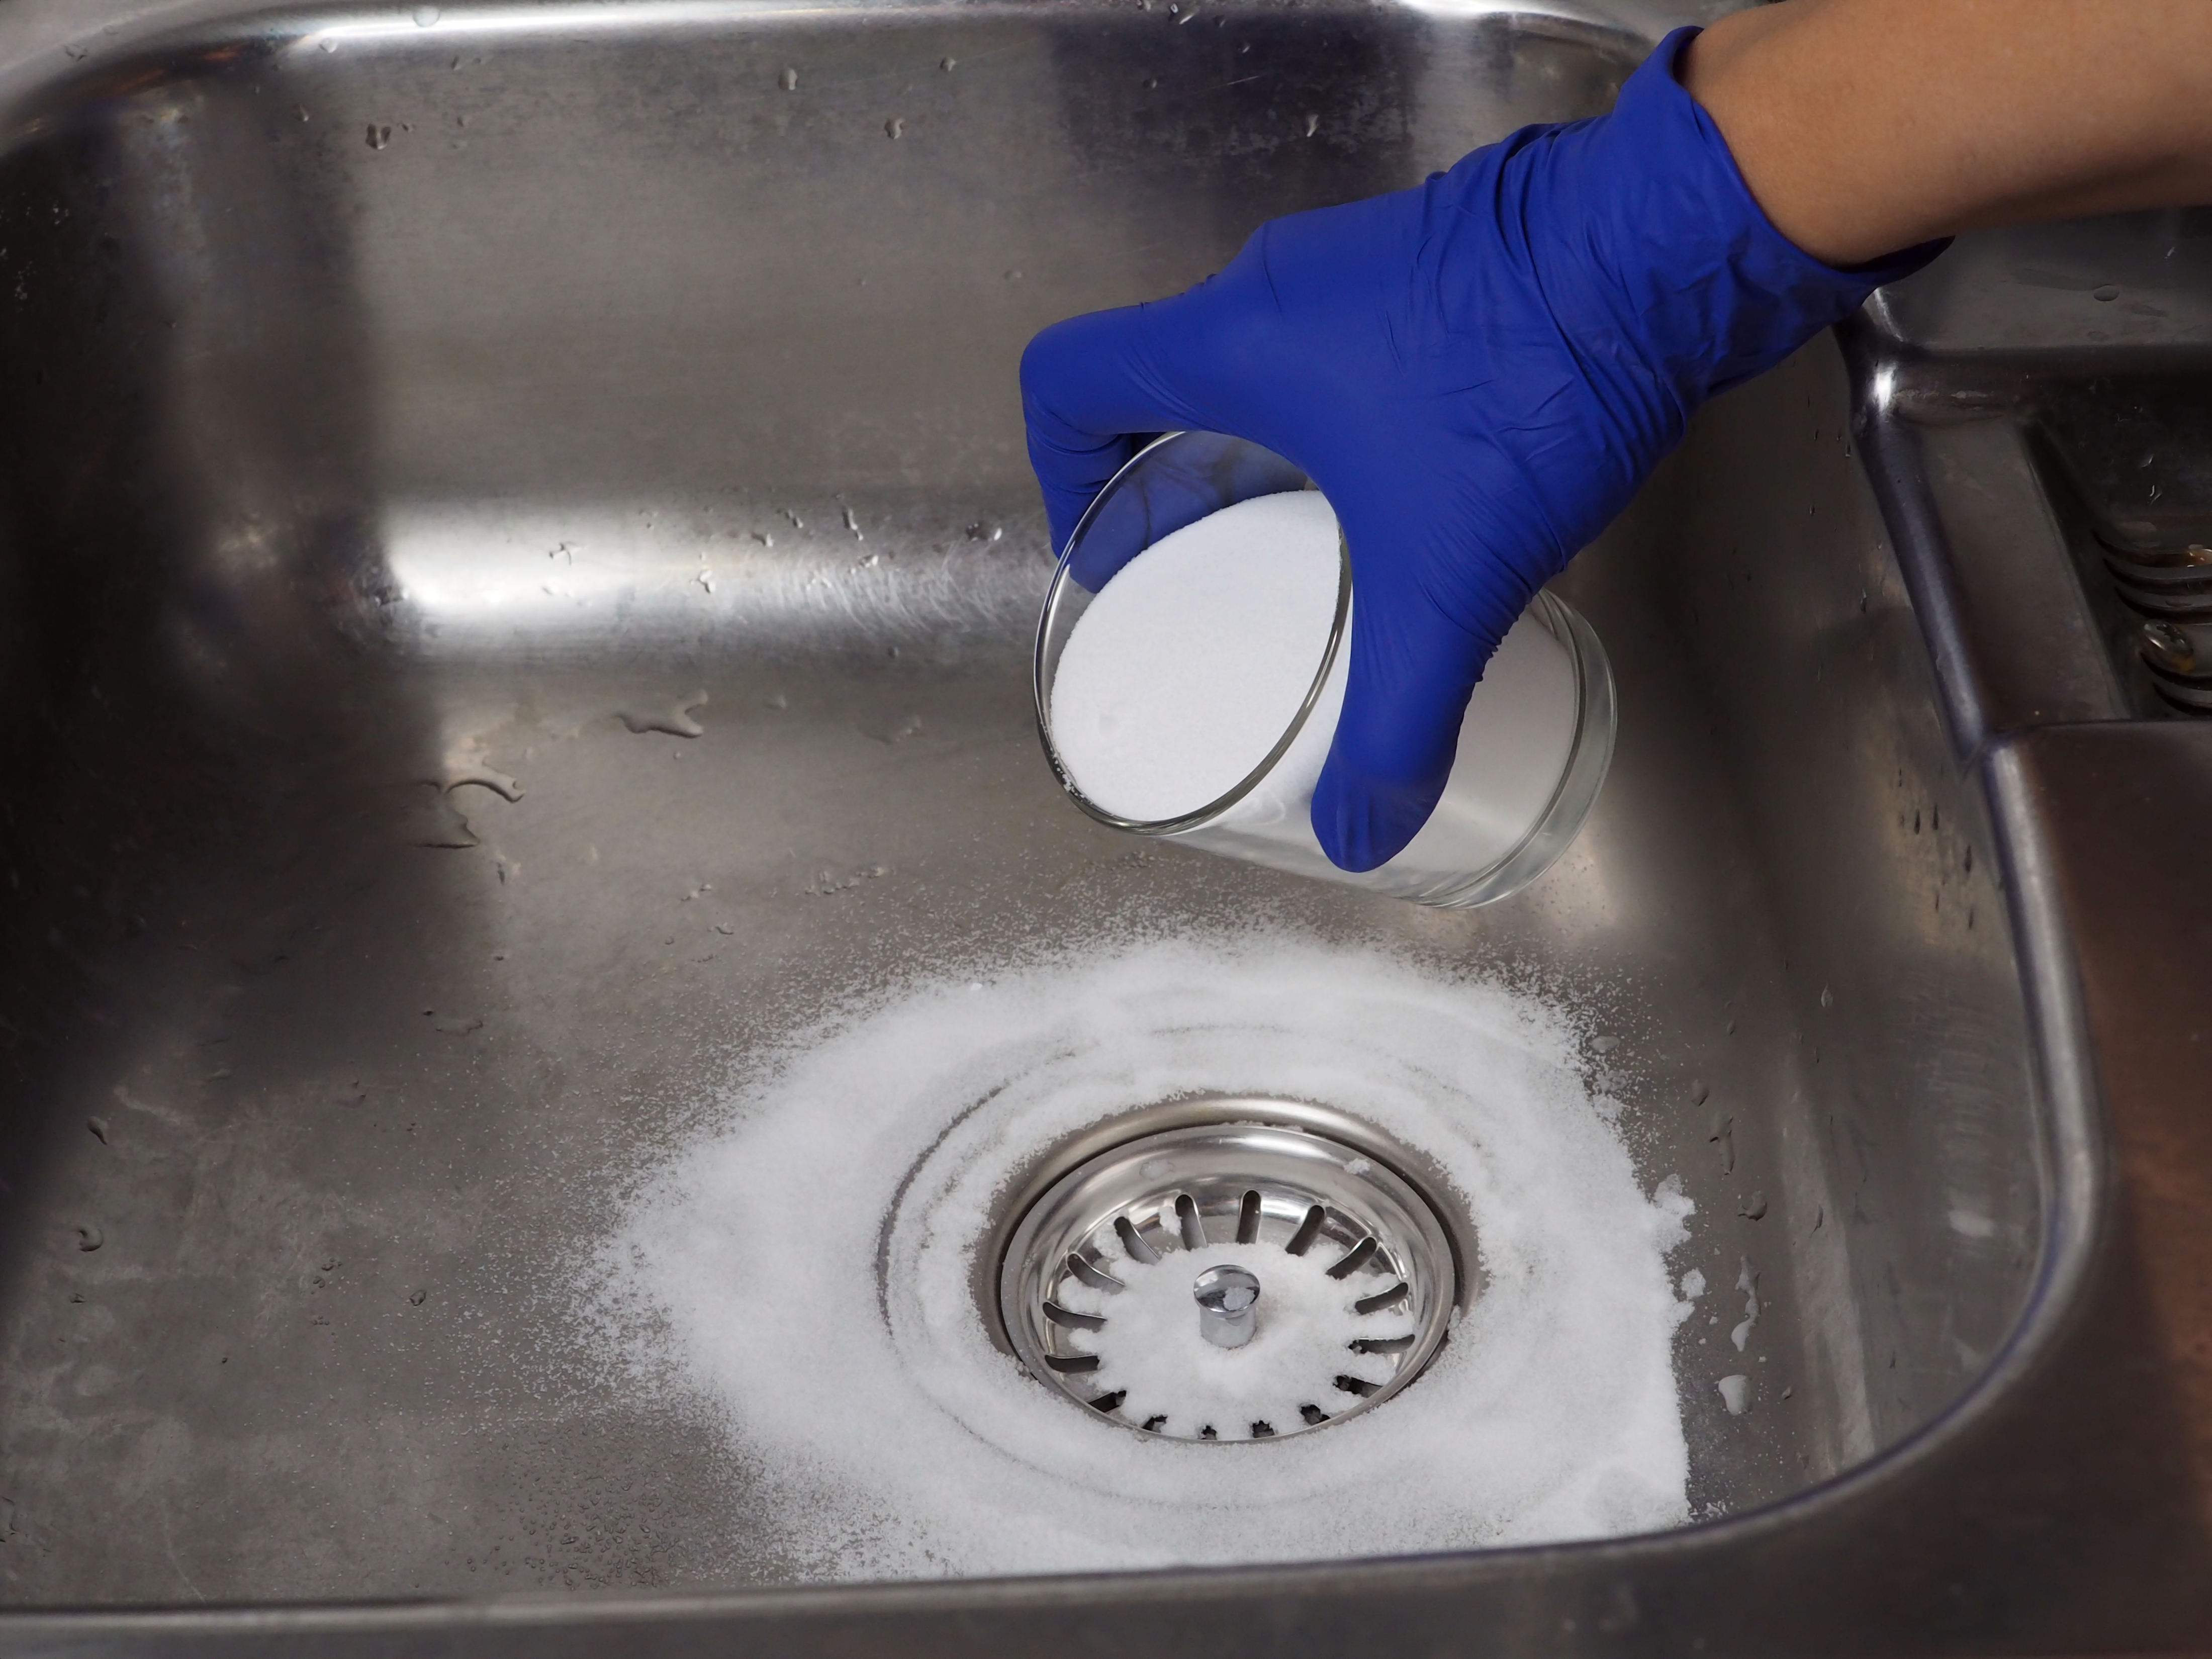
Unblocking a drain is one of those jobs where there’s no sure-fire method that will work every time. Plumbing systems are complicated, and blockages can happen in places that are very hard to access and difficult to fix without first qualifying as a plumber. Before you call in the big guns though, there are a couple of home remedies you can try.
Painting prep can often be a bigger job than the painting itself, and to get the most out of your new paint job, you have to nail the preparation.
It starts with taking a long hard look at the surface you’re painting. Assess it with a critical eye, and make note of any imperfections, even if they’re small. In many cases, a coat of paint can magnify an imperfection and spoil an otherwise flawless paint job.
Painting really is a big job, but if you follow the guide you’ll get a great finish. Plus, you can always check in with Stan for more tips on painting exteriors or painting interiors.
Now holes and scratches are two very different things, but being able to restore your plasterboard wall to its original glory is a great skill to have.
We have a great method for fixing holes less than 150mm in diameter, but you will need a bit of fresh plasterboard to do it, as well as a patching compound, some jointing tape, and a broad knife.
Scratches are a much easier solve.
If you’d prefer a visual guide, check out these videos of Stan patching a hole in the wall or fixing a scratch in the wall to see how it’s done.
Adding a shelf to a bedroom or living room is a great way to add a bit of storage or display space to your home. Floating shelves are a great option, with tidy looks that won’t distract too much from what’s on the shelf or the rest of your decor. Better yet, they’re not super difficult to install.
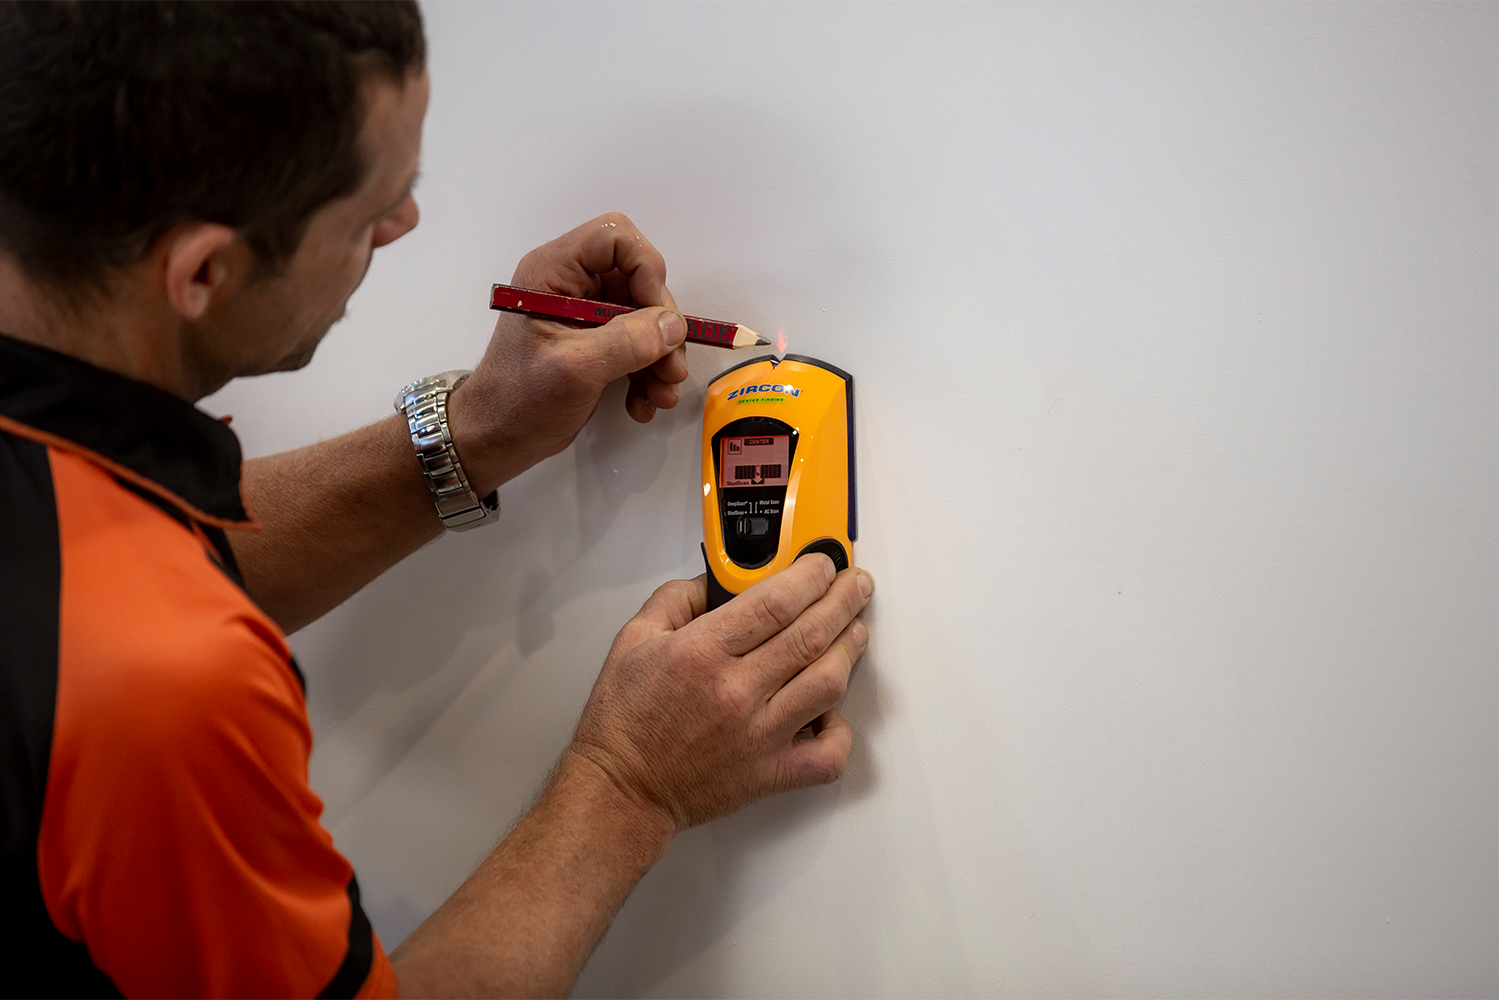
Hanging up some art or photos is the perfect way to make your place feel like home. Coincidentally, it’s also one of the easiest jobs on this list. We actually have a great tool to help you hang pictures but you can also do it with a measuring tape and a pencil. First things first, pop your framed artwork onto your scales to see how much it weighs. Then, you’ll want to grab yourself a plasterboard wall anchor. These are typically rated to handle different weights, so grab one that’s rated for a higher weight than your picture in its frame.
The filters in your heat pump or air conditioner are playing a significant role in keeping the air in your home clean. However, this is a frequently overlooked element to a healthy home and giving them a regular clean is essential to keep the heat pump working efficiently.
It’s that easy. It’s best to tackle these every three to six months, but thankfully, it’s a quick job and you and your whanau will be better for it.
Heat pump filter cleaning was popular enough to land on this list, but it’s important to note there are other appliances in your home with filters that need to be cleaned regularly.
Here’s a quick guide to filter cleaning schedules for appliances.
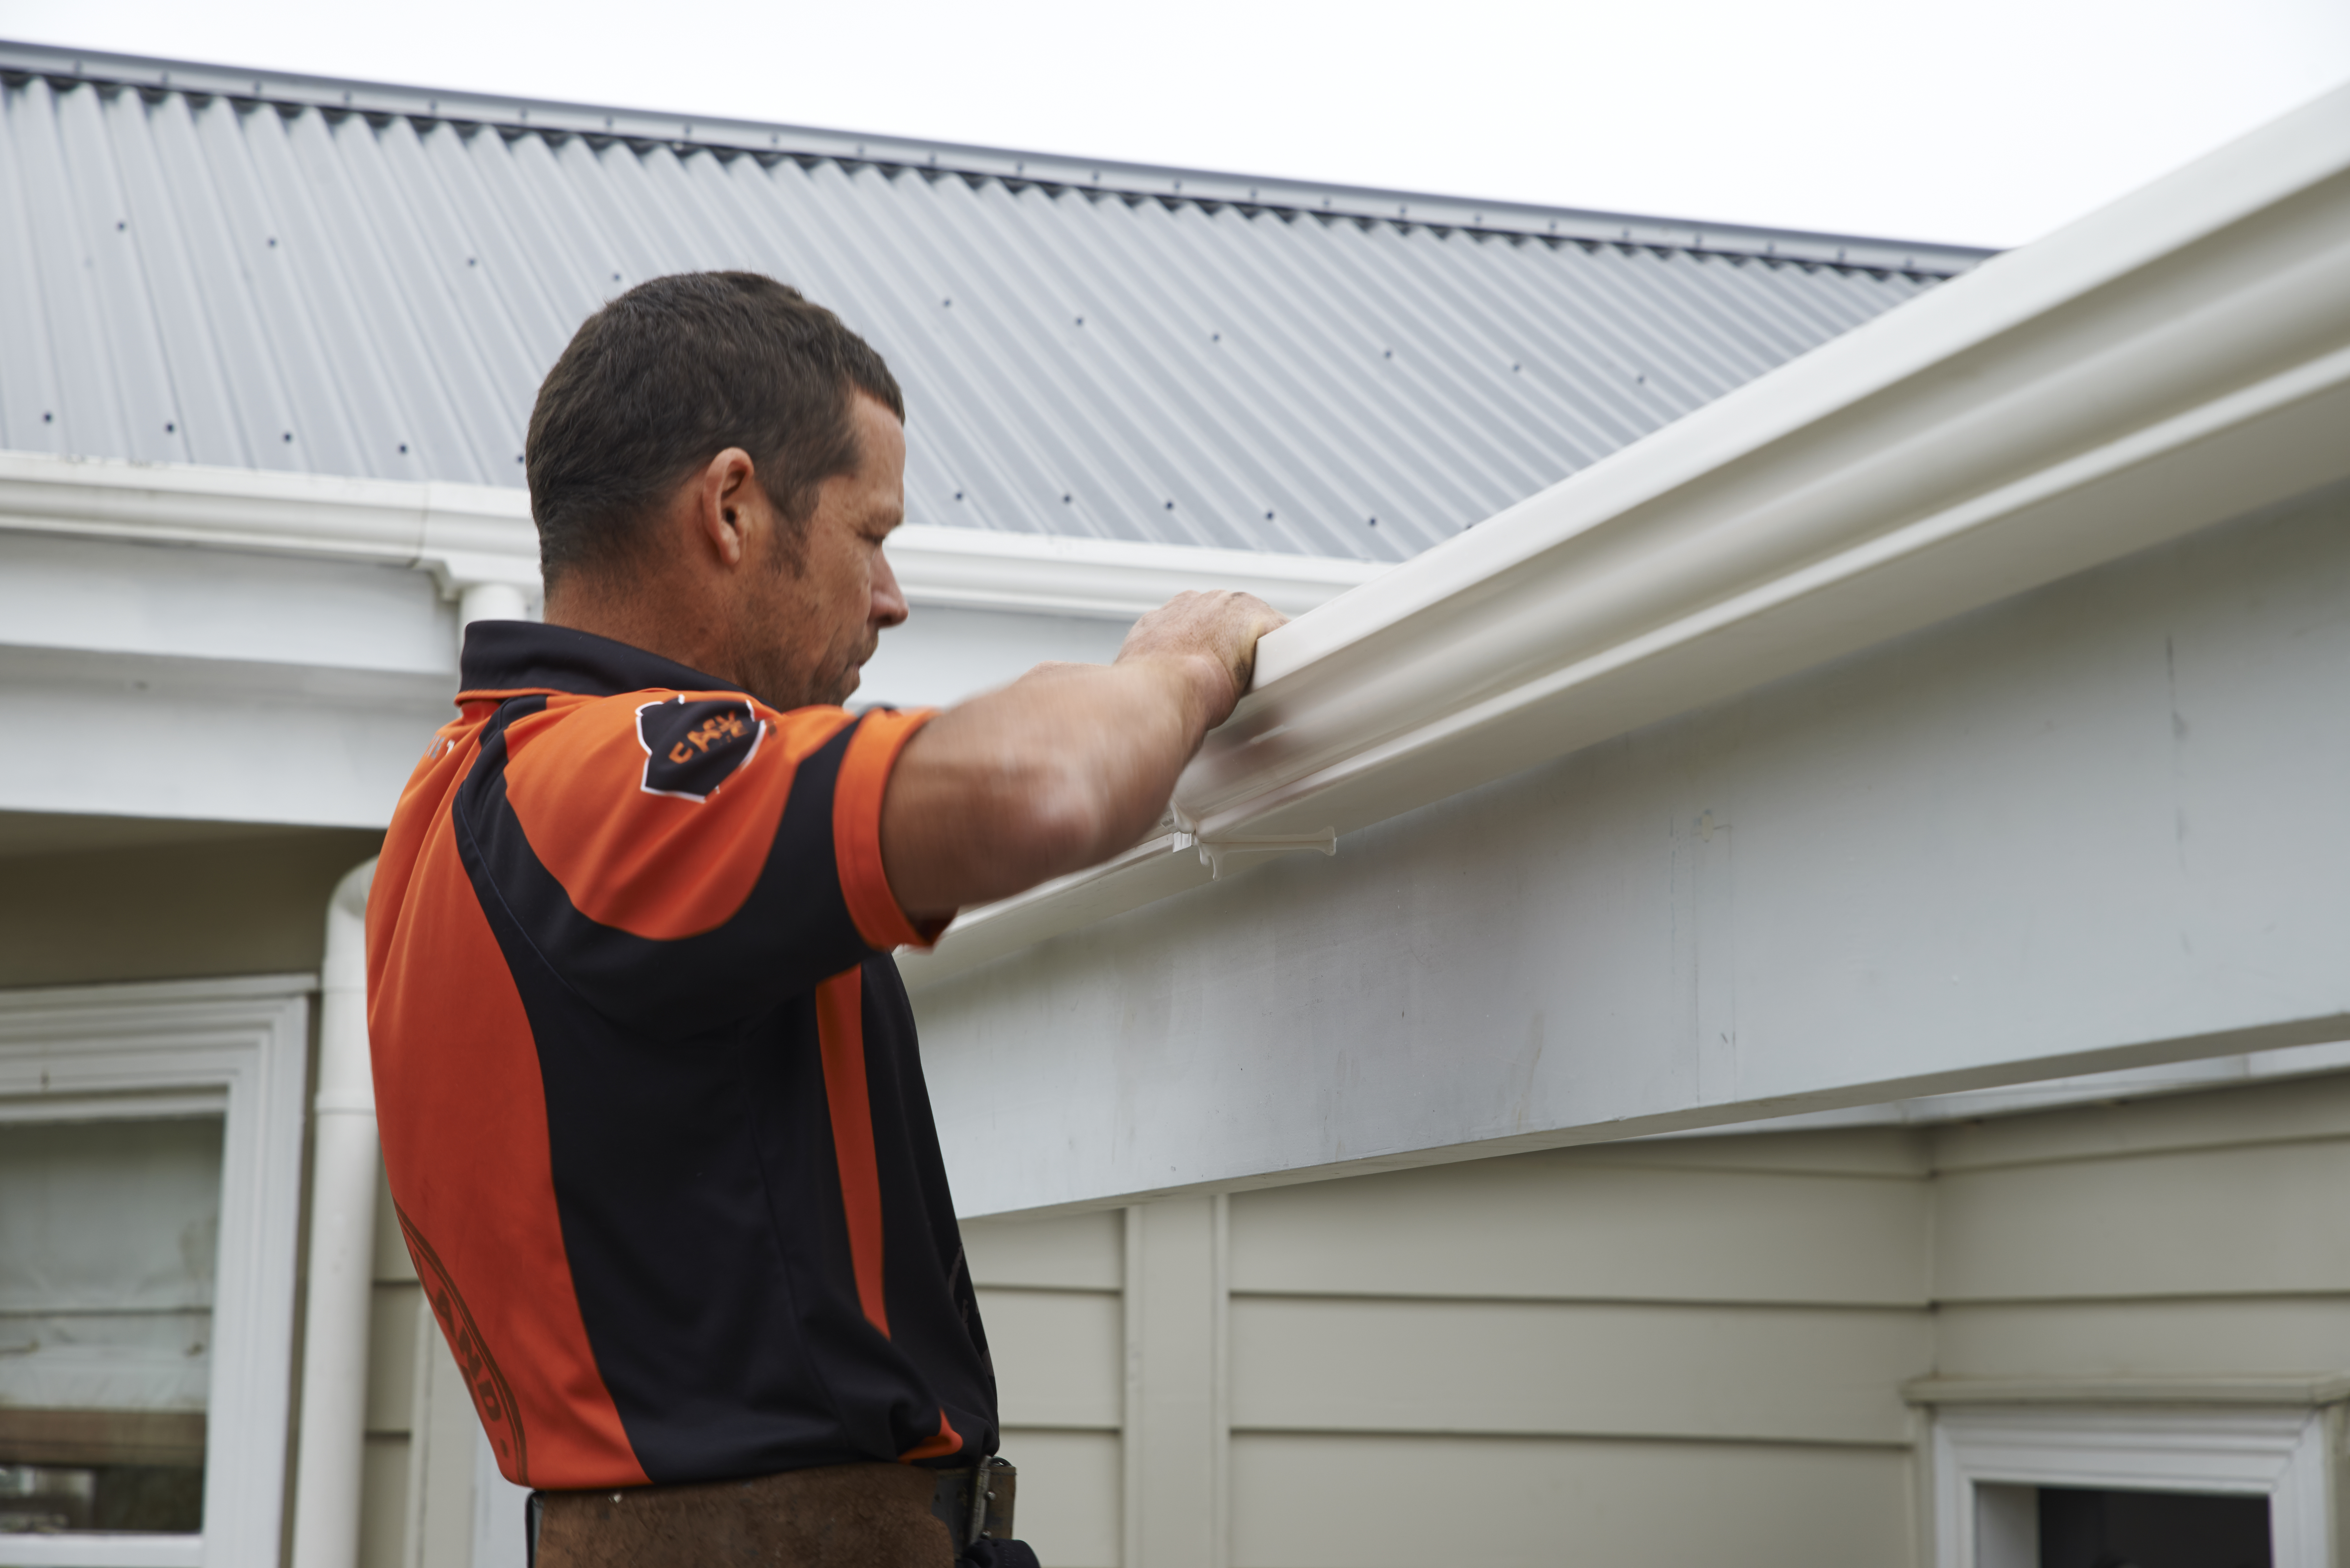
Guttering plays a hugely important role in keeping your home healthy and looking tidy. Unfortunately, it’s one that often gets overlooked until something needs to be replaced. Replacing large sections of guttering can be a huge job, so it’s best to check them regularly and clear away debris and blockages to keep them clean and the rainwater flowing into your downpipes rather than onto your walls or worse, windows.
If you don’t have a ladder, you can use an extendable gutter cleaner to clean your gutters, though with heavy or stubborn debris, you might not get all of it. There’s also a number of products that can help prevent debris from building up in your gutters. You should still check in regularly, but it’s unlikely you’ll have much to do to keep them clear with the right preventative maintenance.
Whether you own a lifestyle block or you’re renting an apartment, growing veges and herbs yourself is a relatively easy and incredibly rewarding thing to do. Even with a little bit of kitchen windowsill or balcony space you can get a bit of fresh deliciousness to give your meals a bit of extra flavour.
Every plant is different and has its own needs to thrive. From the amount of space, sunlight, water and water a plant needs to the considerations you’ll need to make to stop insects or birds eating them first, what works for one may not work for another.For that reason, we’re not going to give you blanket advice for growing veges and herbs. You’ll learn best from our dedicated growing guides how to get your favourite veges or herbs to thrive in the space you have available. We are also lucky that just about any packet of seeds you purchase or plant you pick up from the garden centre will have helpful growing instructions on the back of the packet or tag.
Our best advice for starting your own vege or herb garden is to be patient, be ready to try different companions or experiment with where you plant your favourites. Sometimes it doesn’t go according to plan, but our Healthy Plant Guarantee means we’ll replace any plant you buy from us if it fails to thrive within 12 months - you will need proof of purchase, so hold onto your receipts. Chat to a team member in the garden centre for more info.
Before we say anything else about lawn mowing, you need to know this: If you have a petrol lawn mower, it also needs engine oil. Failure to fill your mower with oil will result in a very broken mower. Don’t forget the oil!
With that out of the way, let’s talk lawns. We Kiwi absolutely love them. They’re as vital to summer as a cloudless sky or a couple of scoops of hot chips with sauce. While we can still love and enjoy an unhealthy, patchy lawn, there’s nothing nicer than a tidy, lush, even lawn.
When it comes to mowing, there’s a few things you’ll need to sort out before you fire up the mower.
Once you’re doing the main body of the lawn, it can be tempting to mow the lawns very short. You might think this will keep them tidier for longer, but this can actually allow the sun to penetrate further into the soil and feed weeds beneath your beloved lawn. It’s best to go for a medium to high height - enough that they’ll be even, but not so much that you’re rolling over grass without touching it. As a general rule of thumb, you should never cut off more than a third of the length at a time.
To help promote even, upright growth, it’s best to cross mow - first mow up and down the lawn, and then from left to right at a 90 degree angle. This will also produce a picture-perfect finish. If your property is on a slant or hill, pushing across the slope rather than up and down will save you a lot of energy.
Regular mowing will keep your grass healthy, whether you’re mulching the grass back onto the lawn or using the catcher to bag it up. A good general idea of a mowing schedule is fortnightly during the summer months and monthly during the winter one, though this will depend on the climate in your region and your own preferences.
If you need to add more petrol during your mow, turn the mower off before refilling.
Don’t forget, once you’ve finished the mow, to give your mower a bit of a clean to remove the stuck grass and keep the chassis clear.
If you find your mower is underperforming, it may mean you need to sharpen or replace your blades. Dull blades not only reduce efficiency, they leave your lawn looking rough and unhealthy.
For tips on which lawn mower will be best for your place, check out this guide, and find more information on caring for your lawn here.
We all have different strengths and weaknesses, and the same task can be easier or more difficult based on a wide range of factors. If you get stuck with any of these jobs, there’s absolutely no shame in it. As we said at the start of this article, DIY is a lifelong learning process and sometimes the best way to find out is to ask. Asking for a bit of help or advice is part of a thriving community of DIYers, so reach out to your friends and family who have a bit of experience with on-the-fly fixes.
We’ve got heaps of Easy As Guides that teach you the skills you need to finish a job, presented by the awesome and incredibly knowledgeable Stan Scott, our resident builder. You can also ask our team members in-store for advice on how to tackle something. Of course, if the job is too big, play it safe and call in a trusty tradesperson - you might even learn a thing or two from them.
We hope you’ve found this article helpful for expanding your DIY knowledge base, or at least, validating for those of you who have successfully completed all of these jobs before. Whatever job you need to tackle, Mitre 10 is just around the corner with our big range, low prices, and expert advice. Pop in for a yarn.


